

Hey all! With camping season in full swing, and hunting season right around the corner, we are always looking for new recipes or meals. I have always wanted to try my hand at dutch oven pizza, but I have to admit, it seemed a little intimidating! So… I figured I’d try it out, and if it was just awful, I would pretend it never happened. HA 😉
When we are out on the mountain, I am all about easy, yummy, filling food! This recipe is just that! With these easy to follow instructions, this will become one of your easy-peasy go to’s for every camping trip!
Ingredients:
- Garlic butter mix (I just get a small stub of spreadable butter and mix a few tables spoons of Garlic Ranch Mix)
- Pre-made pizza dough. We have tried a few different brand, nothing really stands out at this point so just go with what you like!
- Your favorite pizza sauce
- Cheese! We use shredded mozzarella
- Toppings… anything you love
EASY to Follow Directions:
-To start off, I used a 14 inch dutch oven, pre-seasoned. If you are in need of some new cast iron skillets or dutch ovens, try these! You will not be disappointed!
- Place a metal grate over the top of the fire pit and get your fire going. We were camping in Pine valley, UT and each of their fire pits came with metals grate attached. If you are looking for your own grate to bring with you, check out this one by Texsport. We have the extra large one, and use it pretty often. Comes in pretty handy!
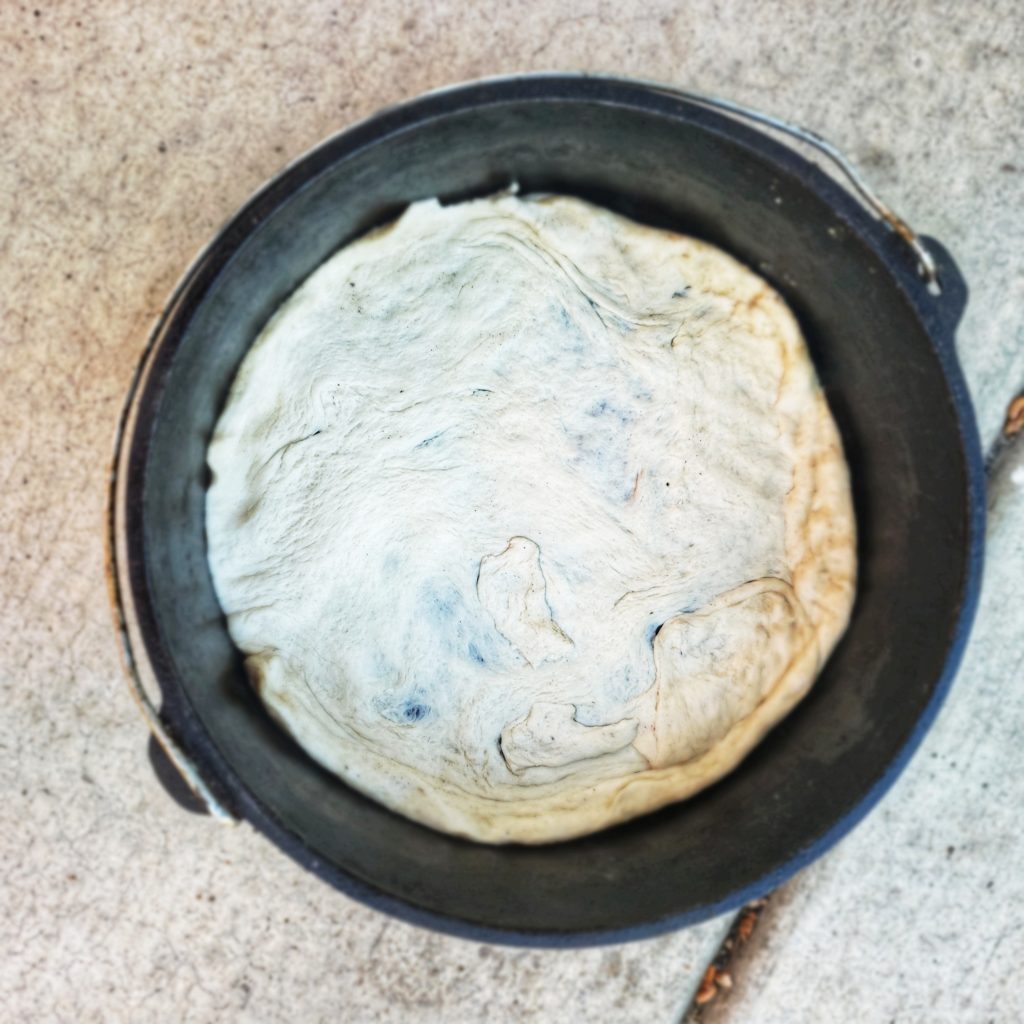
- Next spread your pizza dough along the bottom of your dutch oven, making sure to push up around the edges to start creating a crust. Place on metal grate.

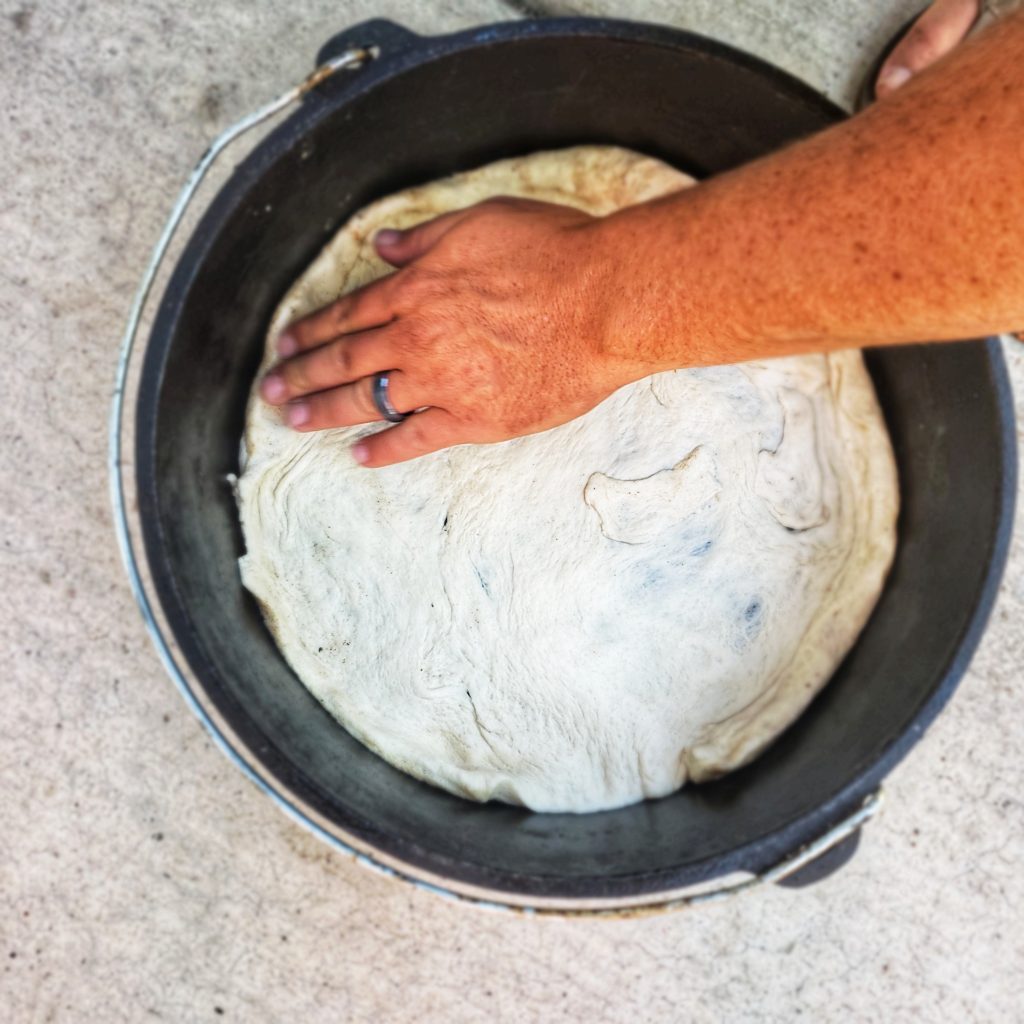
- After about 10 to 15 minutes, flip your dough over. >> WARNING << THE DUTCH OVEN WILL BE HOT. That being said, I use my fingers to grab to side of the dough and flip it over. (Your can always grab a turner though.) Once you have the scary part done, use your fingers and gently push the crust towards the edges and with the round of a spoon spread some of the butter garlic mix along the crust.
- Next set up your pizza however you like. I start with the sauce right in the middle and spread in a circle with the back of a ladle, leaving 2 inches around the edges clear. (I let the kiddos help so ours never looks pretty, but it always tastes amazing so.. whatev! Next, I layer cheese and toppings until I am satisfied.
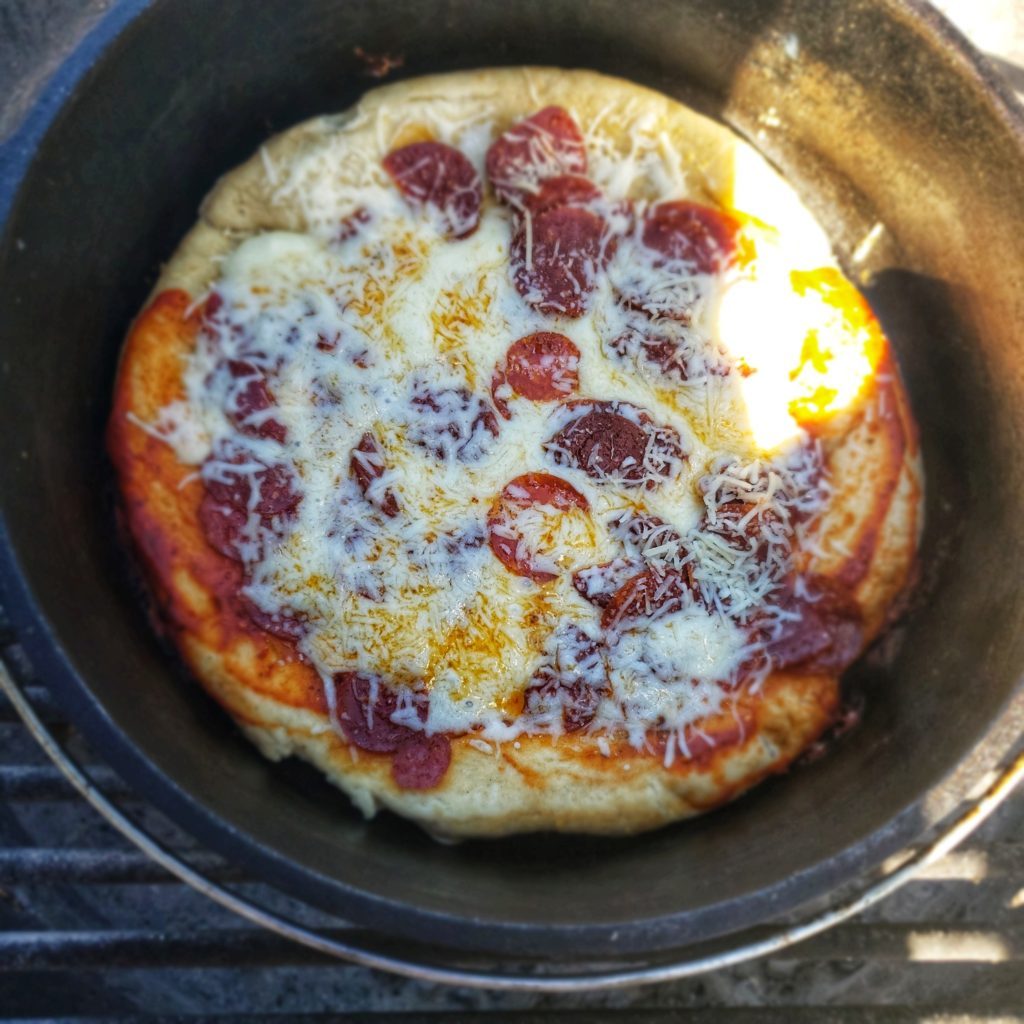
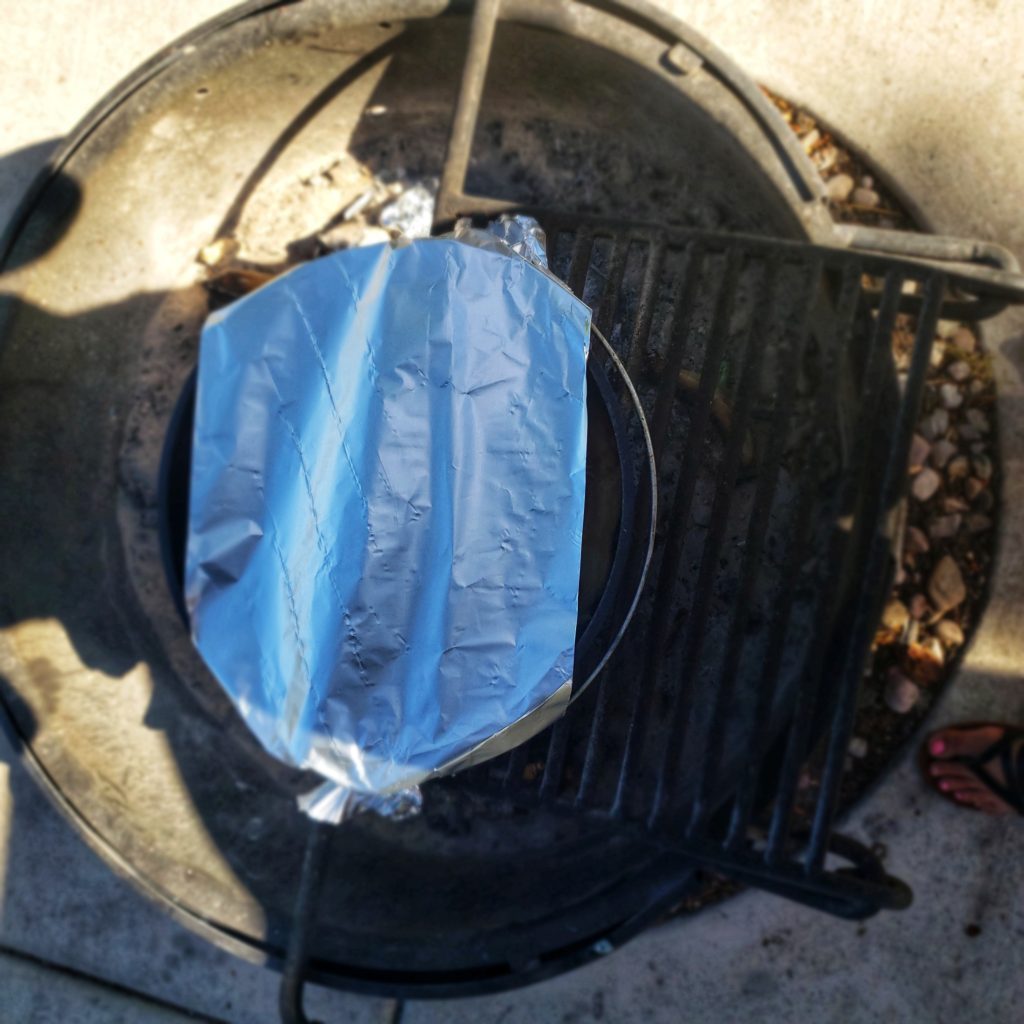
- Cover with tin foil and keep a close eye. I use tin foil instead of the cast iron lid, just makes it easier to peak in when needed. In total it took about 10-15 for the cheese to fully melt and the bottom of the crust to turn golden brown.
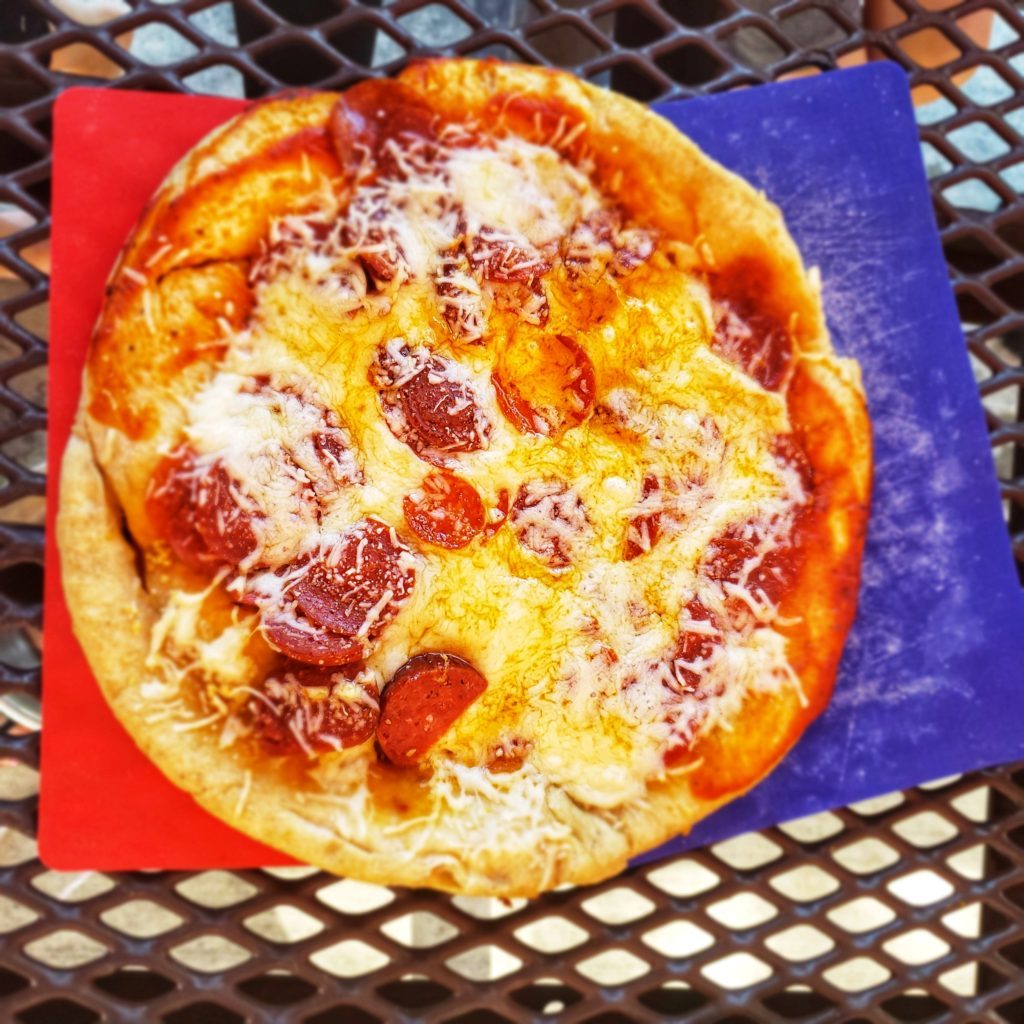
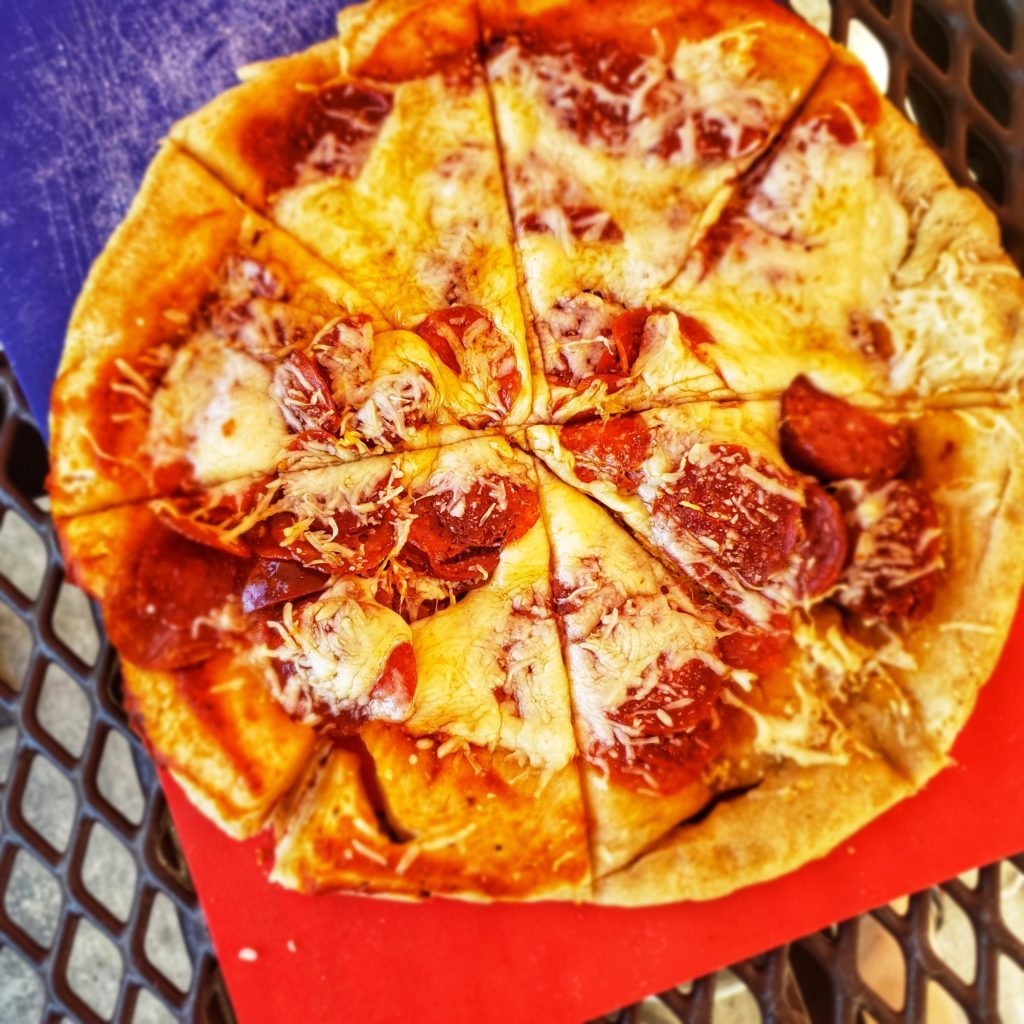
- Transfer the pizza from the dutch oven to a cutting board and let cool for a few minutes before slicing up.

What are your favorite pizza toppings? Mine are chicken, spinach, onion and jalapeno … mmMMMmmm! Let us know how this recipe works out for you and share your dutch oven pizza pictures too!

Thanks for reading and please share the love by liking and following on social media!